Unlockables File
For this tutorial, we will go over creating an unlockables file.
Brief overview of the Unlockables File
The Unlockables file contains metadata about, well, you guessed it, things that can be unlocked. This includes things like starting locations, outfits, and locations.
Creating and modifying an Unlockables File
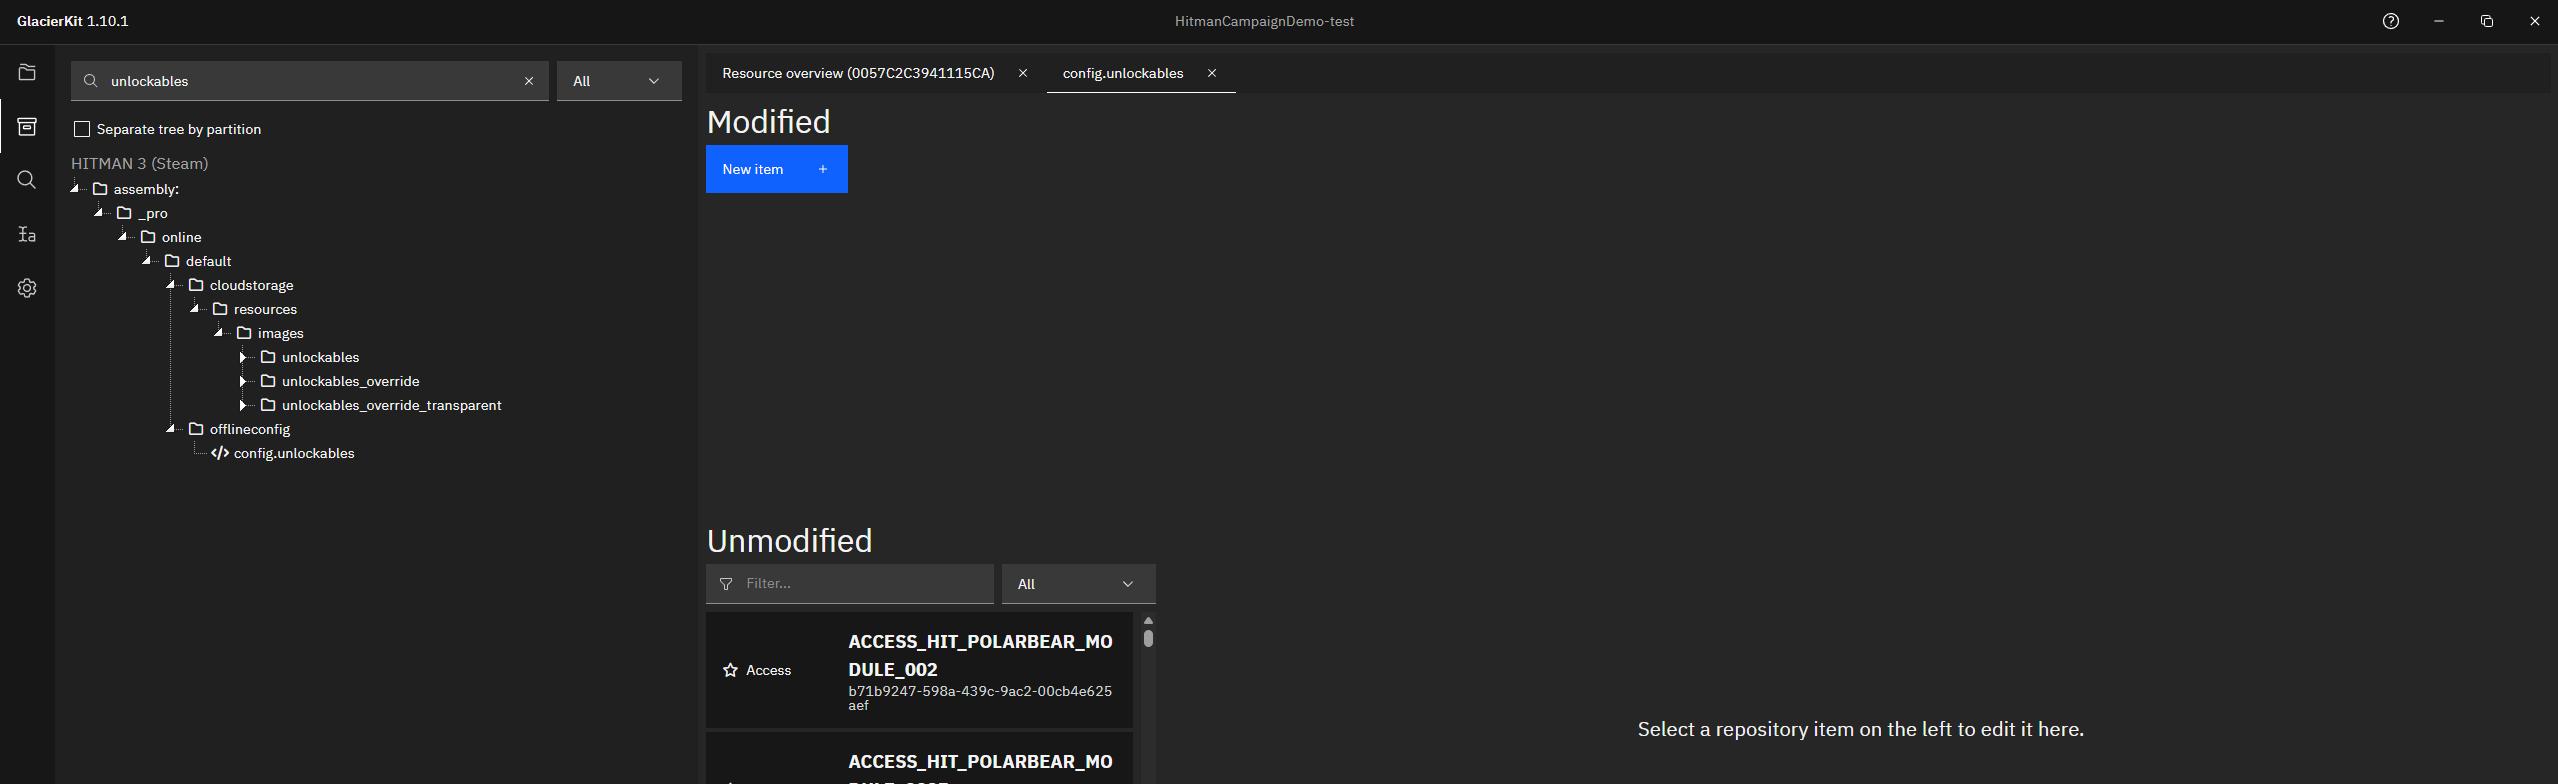
In GlacierKit, on the Game content tab, search for unlockables. Open the assembly:/_pro/online/default/offlineconfig/config.unlockables file, and click the Open in editor button. You will see the Unlockables entries.
Adding a new entry for the starting location
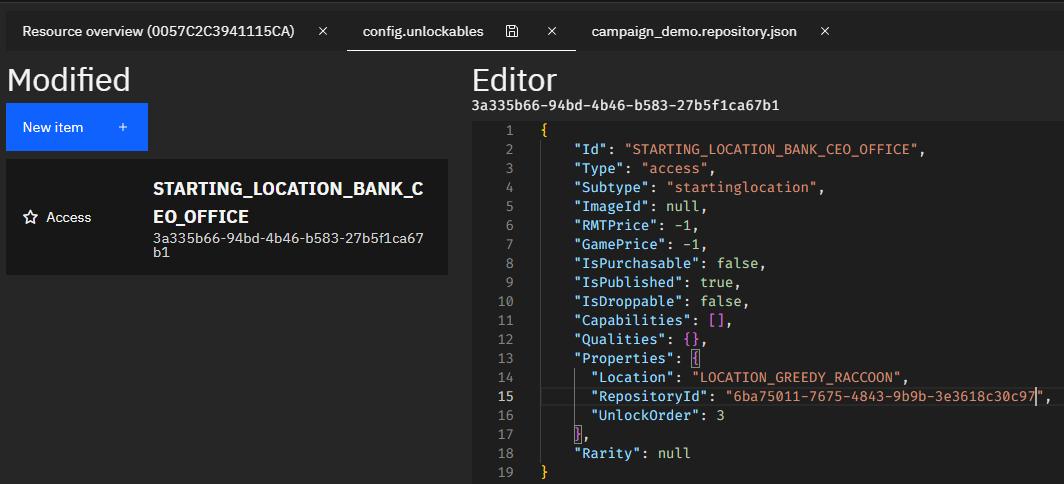
Click the New Item button and click on the new item. In the editor for your new entry, set the contents to:
{
    "Id": "STARTING_LOCATION_BANK_CEO_OFFICE",
    "Type": "access",
    "Subtype": "startinglocation",
    "ImageId": null,
    "RMTPrice": -1,
    "GamePrice": -1,
    "IsPurchasable": false,
    "IsPublished": true,
    "IsDroppable": false,
    "Capabilities": [],
    "Qualities": {},
    "Properties": {
      "Location": "LOCATION_GREEDY_RACCOON",
      "RepositoryId": "[UUID OF STARTING LOCATION]",
      "UnlockOrder": 3
    },
    "Rarity": null
}
Note, the STARTING_LOCATION_BANK_CEO_OFFICE text matches what we set in the manifest for UI_STARTING_LOCATION_BANK_CEO_OFFICE_DEFAULT_NAME and UI_STARTING_LOCATION_BANK_CEO_OFFICE_DESC. This is how the game knows to use those strings for this location, so they will need to match.
Set the RepositoryId to the value copied from the repositories file in the previous step.
Click the save button. Navigate to the content/chunk0 folder and set the name to something like campaign_demo. Similarly to the repository file we created in the previous section, the only important part of the name is .unlockables.json, so you can name it whatever you'd like, but for this tutorial we'll refer to it as campaign_demo.unlockables.json.
Next Steps
Now that we have the Unlockables File set, let's create a planning contract for our scene.