Mission Contract
For this tutorial, we will go over creating a custom mission contract.
Creating the mission_bank.contract.json file
In GlacierKit, in the content/chunk0/ folder, create a new folder named Mission Contracts. In that folder create a new file named mission_bank.contract.json, click it, and set its contents to:
{
	"Data": {
		"EnableSaving": true,
		"Objectives": [],
		"GameDifficulties": [
			{ "Difficulty": "easy", "Bricks": [] },
			{ "Difficulty": "normal", "Bricks": [] },
			{ "Difficulty": "hard", "Bricks": [] }
		],
		"Bricks": [],
		"DevOnlyBricks": [],
		"Entrances": ["[INSERT NEW UUID FOR THE ENTRANCE]"],
		"GameChangers": [],
		"GameChangerReferences": []
	},
	"Metadata": {
		"Id": "[INSERT UUID FOR THE MISSION]",
		"IsPublished": true,
		"Title": "UI_BANK_TITLE",
		"Description": "UI_BANK_DESC",
		"CodeName_Hint": "New York",
		"ScenePath": "assembly:/_pro/scenes/missions/hitman_campaign_demo/mission_bank/scene_bank.entity",
		"TileImage": "images/campaign_demo/bank/tile.jpg",
		"Location": "LOCATION_GREEDY_RACCOON",
		"LastUpdate": "2025-05-02T19:44:00.000Z",
		"CreationTimestamp": "2025-05-02T19:44:00.000Z",
		"CreatorUserId": "[INSERT GENERATED CREATOR USER ID]",
		"Type": "mission",
		"Release": "3.0.0",
		"Entitlements": ["H2_LEGACY_EXPANSION"]
	},
	"UserData": {},
	"SMF": {}
}
In the Entrances field enter a new UUID for the new entrance, for instance:
"Entrances": ["8e2bdc62-905d-43c1-8d91-3dceb8506a77"],
In the Id field enter the same UUID for this mission that you created for the storyconfig.JSON.patch.json file.
In this example, we are creating a custom mission for the New York location, so the Location field is set to LOCATION_GREEDY_RACCOON, the CodeName_Hint field is set to New York, and the Entitlements field list is set to H2_LEGACY_EXPANSION.
Set the CreatorUserId to your personal CreatorUserId if there is one that you use, or a new UUID generated with GlacierKit. It's not really used anywhere currently, but maybe down the line it will be.
Press the save button.
Create the mission tile image
In the blobs/images/campaign_demo folder, create a new folder named bank, and in that folder, create a new image file for named tile.jpg with a resolution of 693 by 517.

Here is an example you can use for the
tile.jpgfile
Deploying mod
Let's deploy the mod and see what it looks like.
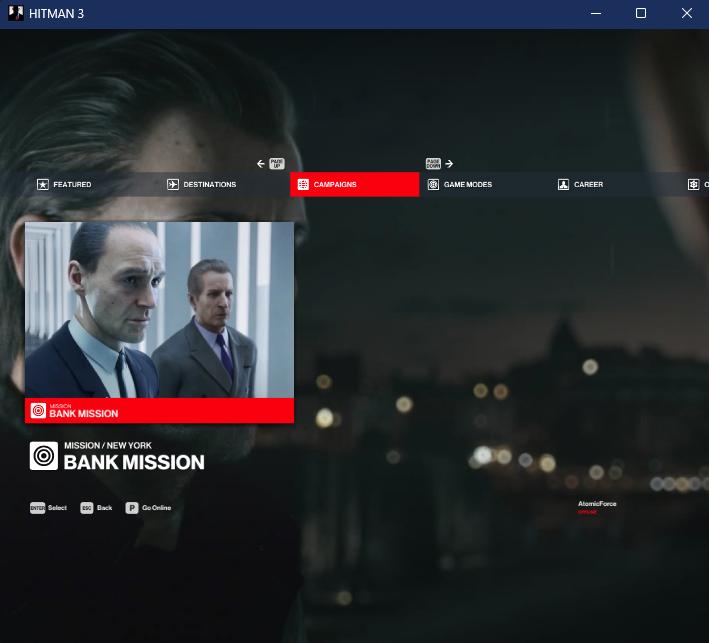
Go to the Campaigns tab and you will see the new Hitman Campaign Demo campaign.
When you click on the Hitman Campaign Demo tile, you will see the new bank mission.
If you click on that mission, you will see the mission menu on the Objectives tab.
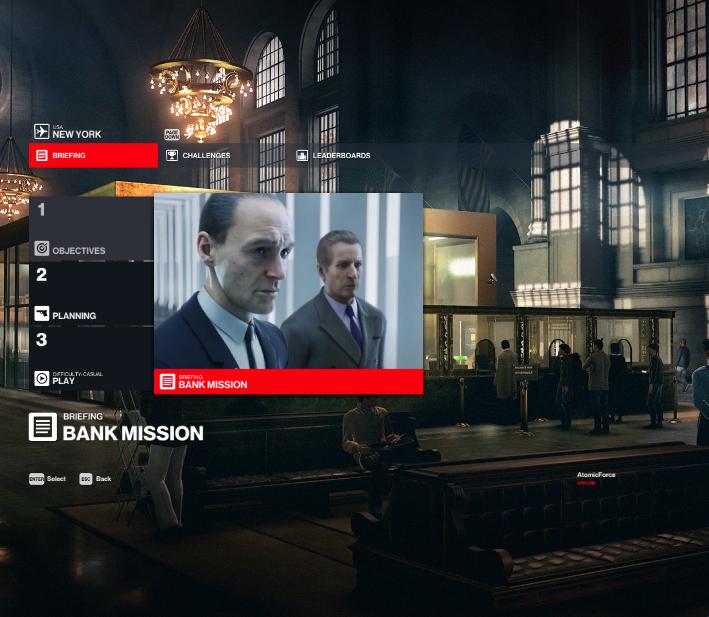
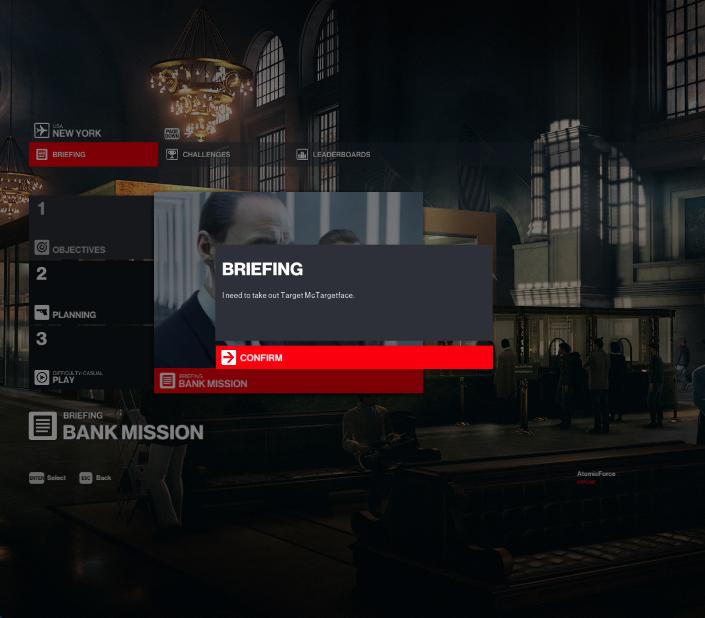
If you click on the briefing tile, you will see our custom briefing.
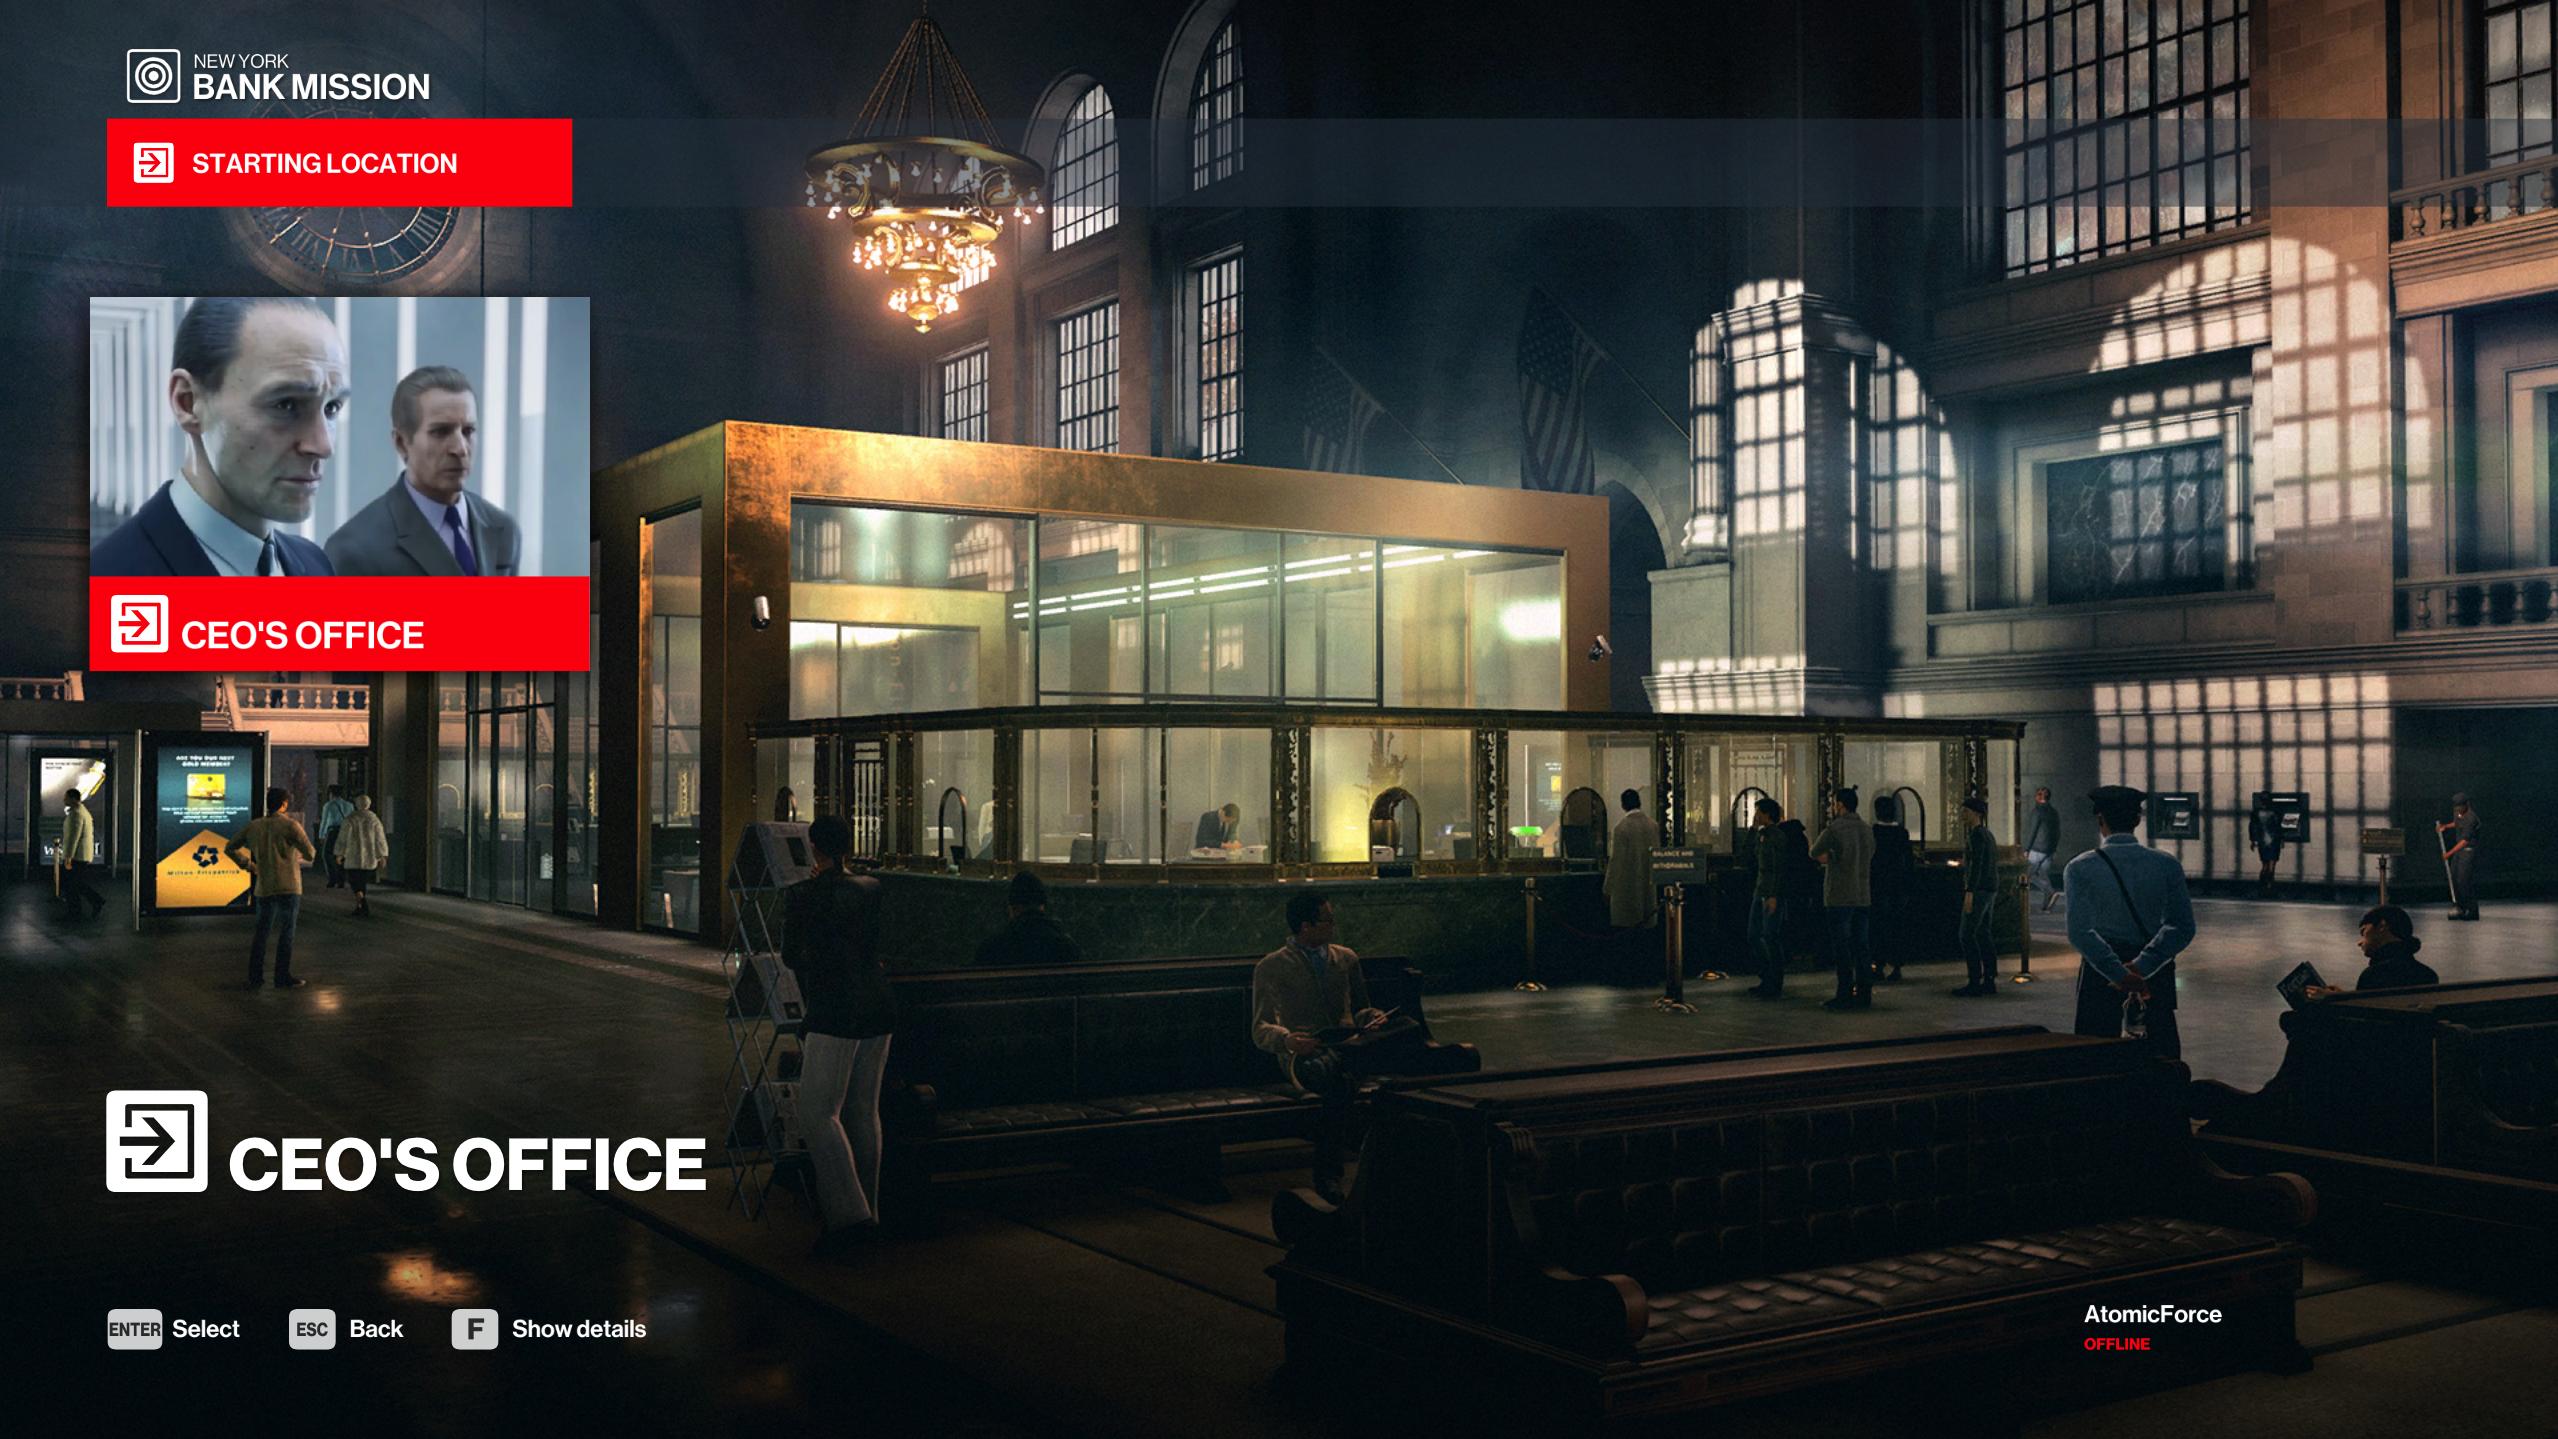
If you click the Planning tab, you will see that it shows our new starting location.
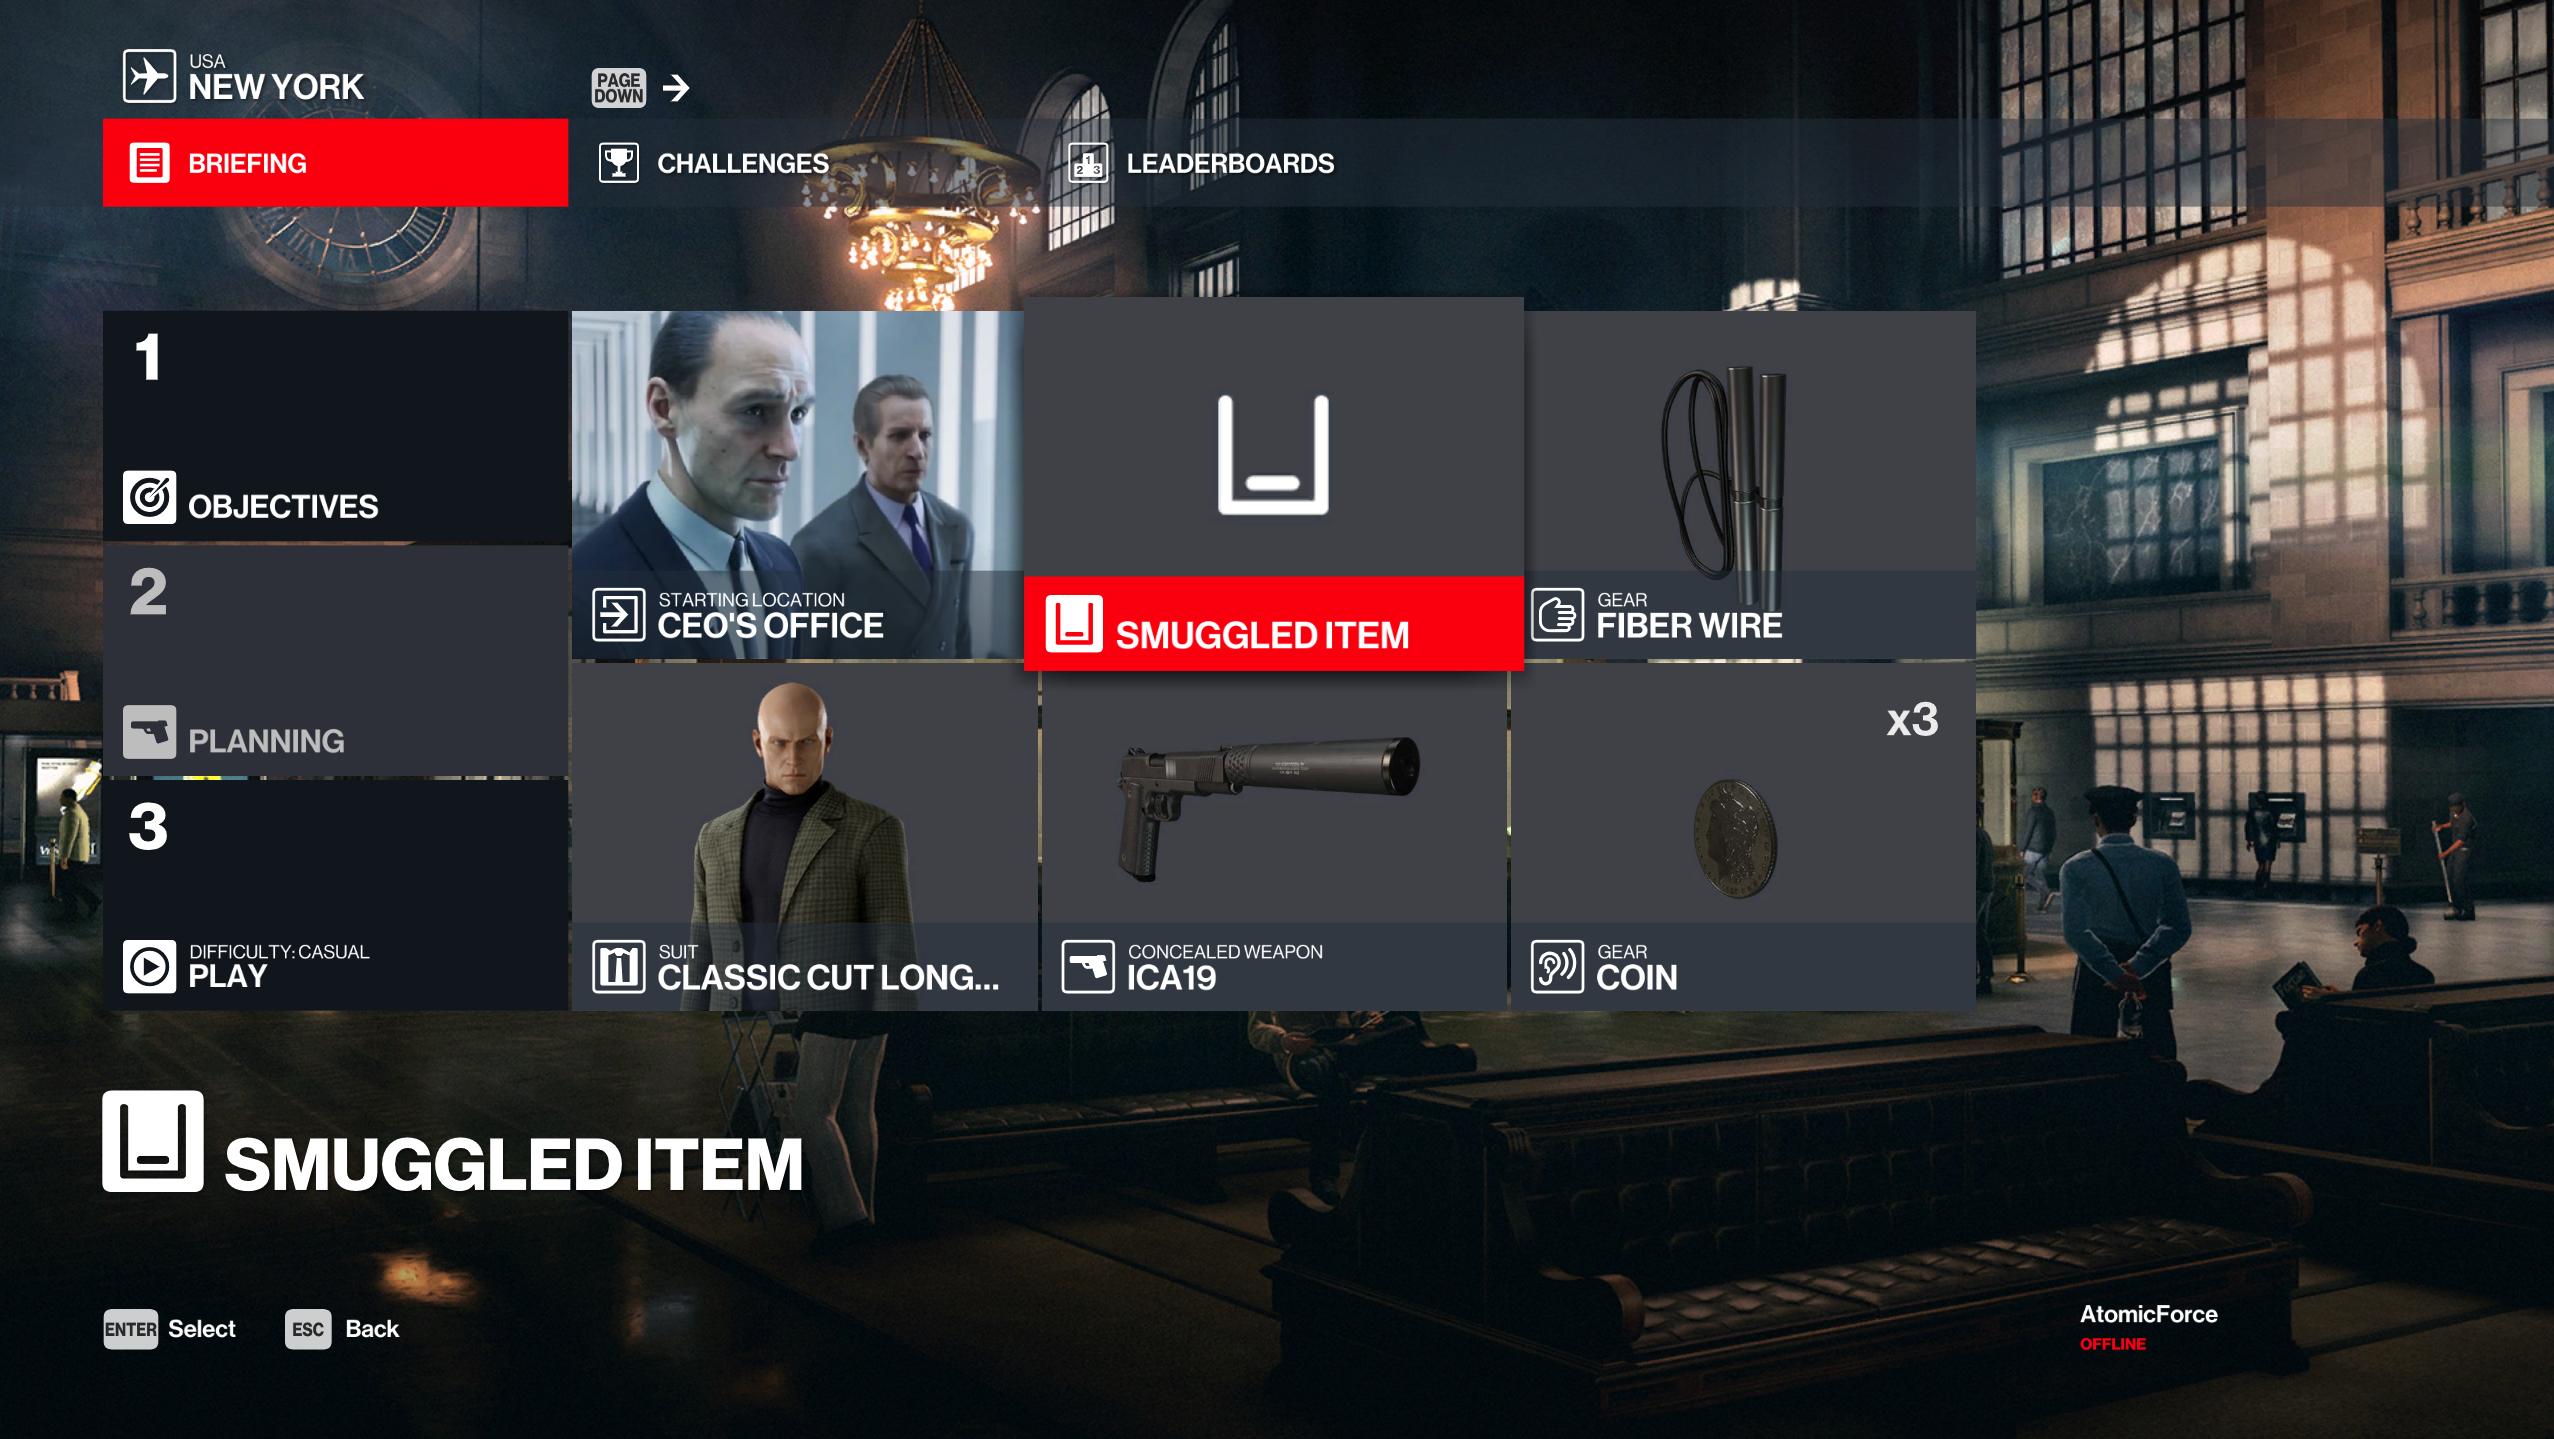
If you click the new location, it will show our new starting location as the only option.
If you go back and press the Play button, the game will crash, as we haven't actually created this scene.
Committing and merging into the next-release branch
Now seems like a good time to make another commit if you haven't yet. This time let's commit to our more-setup branch and merge it into our next-release branch, but let's not make a new release.
In WebStorm opened to your mod folder, open the Commit tab. Select every file, right-click one and press Add to VCS.
Press the Terminal button and in the terminal enter:
git commit -am "Added menu items, repository, unlockables, and planning and mission contracts"
and press enter. Then enter:
git push -u origin head
Click the Create a pull request for 'more-setup' link and create a new pull request with the base branch set to next-release.
We only have one commit, but just to build some muscle memory, let's change the merge button dropdown to Squash and Merge, and click that button.
For the commit message, use your original commit message but add feat: at the beginning, so it says:
feat: Added menu items, repository, unlockables, and planning and mission contracts
and continue with the merge. Also delete the branch when prompted.
Back in WebStorm, on the terminal enter:
git pull
It will say that your more-setup branch is not on the remote. This time, since the next-release branch still exists on the remote, and has our changes, let's check out that branch instead of main. Enter:
git checkout next-release
Let's also delete our local copy of the more-setup branch. Enter:
git branch -D more-setup
Note: We need to capitalize the
-Dflag this time to force the branch deletion, because we merged themore-setupinto thenext-releasebranch, but not into themainbranch.
The next step we'll be taking is creating a new scenario and scene, so let's check out a new branch. Enter:
git checkout -b create-scenario-and-scene
This creates a new branch based on our next-release branch.
Next Steps
Now that we have the menus set up for our new mission, lets make a new scene file and a new scenario file for it.