Repository File
For this tutorial, we will go over creating a repository file.
Repository File brief overview
The repository stores metadata about various things in Hitman: World of Assassination, from starting locations to NPCs, to weapons.
For our purposes we will just be adding a new starting location for now.
Creating a repository file
In GlacierKit, switch back to the Files tab, right-click on the content/chunk0 folder and create a new file named hitman_campaign_demo.repository.json. (The exact filename doesn't really matter, as long as it ends with .repository.json, but for this tutorial we'll use hitman_campaign_demo.repository.json).
Modifying the repository file
In GlacierKit, click on the hitman_campaign_demo.repository.json file. You will see the repository editor:
 Click on the
 New item button, click on the new item that appears, and replace the contents in the text area with this:
{
    "Image": "images/entrances/bank/bank_entrance_ceo.jpg",
    "Name_LOC": "UI_STARTING_LOCATION_BANK_CEO_OFFICE_DEFAULT_NAME",
    "Name": "Bank CEO Office Starting Location",
    "Description": "UI_STARTING_LOCATION_BANK_CEO_OFFICE_DESC"
}
You should now see your custom starting location's repository entry.
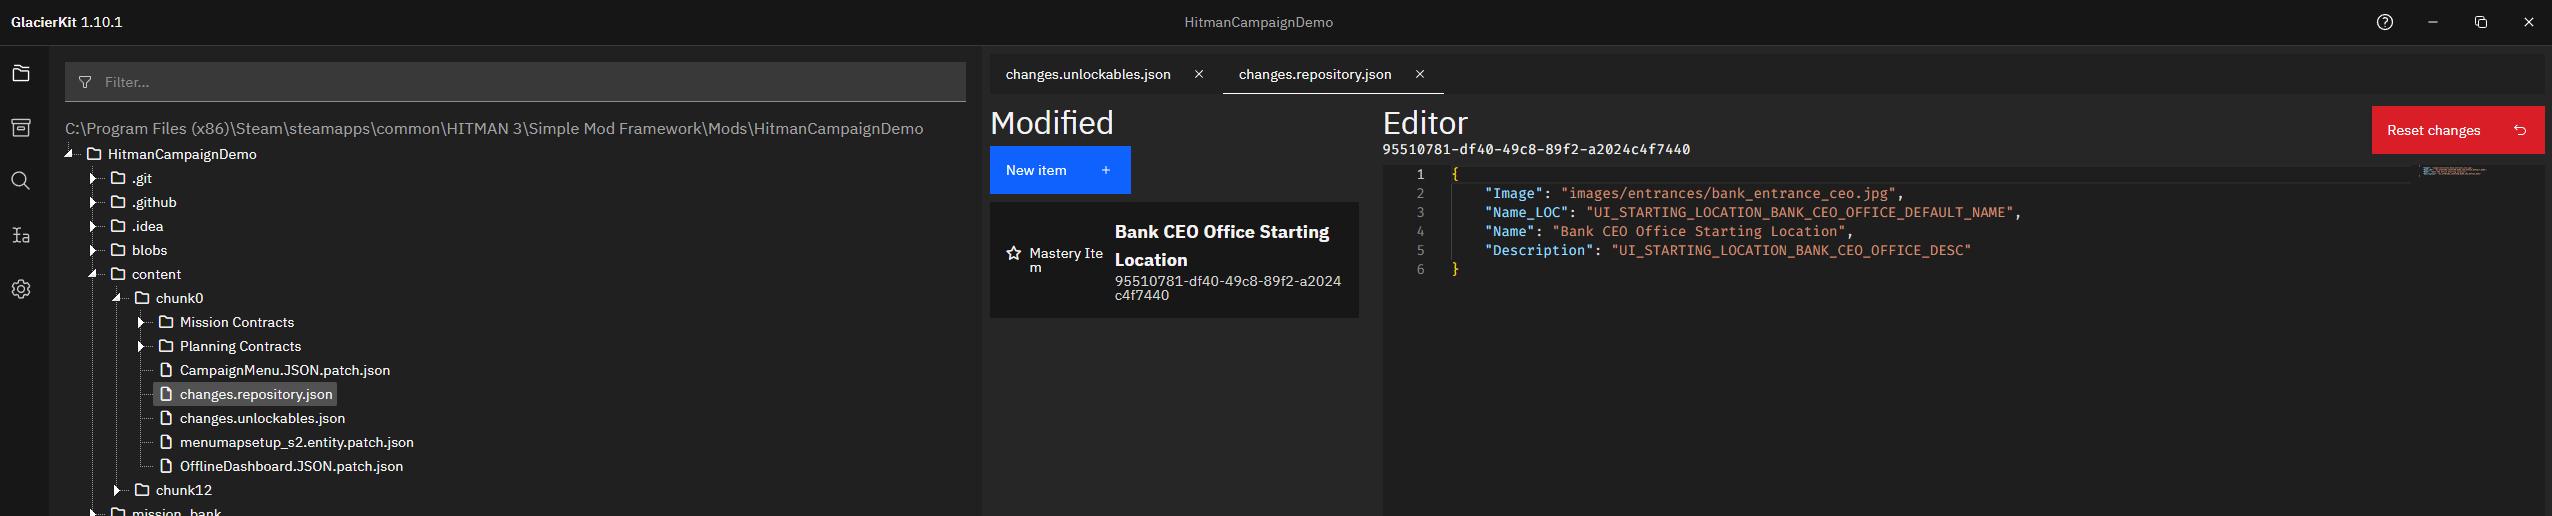
Note the new starting location's repository entry's new UUID, just above the Editor text area. We will need that for the next step, so let's keep this file open so we can access it easily later.
Click the save icon.
Create the starting location image
In the blobs/images/ folder, create a new folder named entrances. In that folder create a new folder named bank. Inside that folder create a new image named bank_entrance_ceo.jpg.

Here is an example you can use for the
bank_entrance_ceo.jpgfile
Next Steps
Now that we have a repository entry for our new starting location, we need to set it as unlocked to be able to use it.