Changing Mesh Bonerig
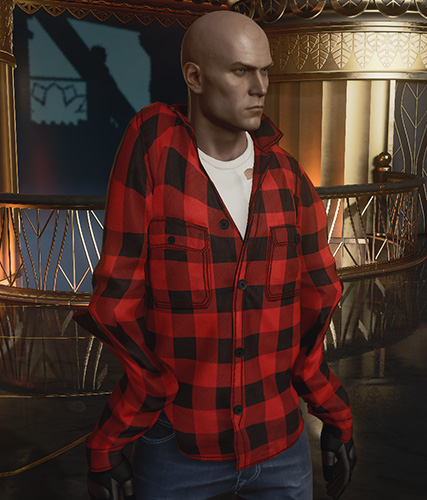
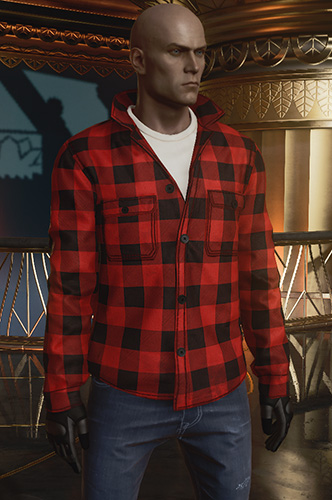
If you use a body part model from season 1 in an outfit that is rigged for season 2/3, or vice versa, the result will look crazy. This is because IOI altered the rig over the years.
Thankfully this is easy to fix if you absolutely must use this mesh. You will need the Rebone tool for this. So download it first and extract it somewhere you can find it.

Preparation
First we need 3 things:
- The mesh we want to convert
- The meshes original skeleton bonerig
- The new skeleton bonerig to use
The mesh
In this example we will be using a Season 1 model, Ezra Berg's shirt. Open GlacierKit and search the game files for [assembly:/_pro/characters/assets/individuals/colorado/ezraberg/geometry/male_reg_ezraberg.wl2?/shirt.weightedprim](bodypart).pc_weightedprim to find it. Extract the weightedprim somewhere you can find it, ideally in the same folder as Rebone.
The original bonerig
Next we need the shirt's rig. You can easily find that in the shirt meshes references, called [assembly:/_pro/characters/assets/individuals/colorado/ezraberg/geometry/male_reg_ezraberg.wl2?/shirt.weightedprim](bodypart).pc_bonerig. Click it and extract it as well, right next to the shirt mesh in the Rebone folder.
The new bonerig
Now we need the rig to convert to. You can get this information from your work in progress outfit, click the parent OUTFIT entity and find the property called m_pBonesAndCollisionResource.
In my case this points to [assembly:/_pro/characters/assets/hero/agent47/geometry/agent47_s3_head.wl2?/bones.weightedprim](bodypart).pc_bonerig. So let's extract this as well to the Rebone folder.
Make a note of the original and the new bonerig's hashes to make sure you choose the correct files in Rebone.
Conversion
Now, run rebone.exe and choose the input PRIM as the shirt, the from BORG as the shirt's original rig, and to BORG as the new rig.
But what do we choose as the output? Well, we have the original weightedprim's path and hash, which is [assembly:/_pro/characters/assets/individuals/colorado/ezraberg/geometry/male_reg_ezraberg.wl2?/shirt.weightedprim](bodypart).pc_weightedprim and 00B618F2DCD237B2 respectively.
Since we're just converting this mesh from one rig to another we can just use this path and tweak it slightly. Let's add _s3 to shirt.weightedprim so we know what we've done.
Go into GlacierKit's text tools and input [assembly:/_pro/characters/assets/individuals/colorado/ezraberg/geometry/male_reg_ezraberg.wl2?/shirt_s3.weightedprim](bodypart).pc_weightedprim into the hash calculator. This gives us the hex 00C0C7BF8B19456A.
Back to Rebone, and select output PRIM file. Enter 00C0C7BF8B19456A.PRIM in the file save dialog. Now click the Rebone! button.
In the Rebone folder you have your new 00C0C7BF8B19456A.PRIM file along with its meta file. You can now copy this over to your mod content folder to use it.

You should go back to GlacierKit and add this new mesh path to your project so you can find it later. Open the Settings tab. Under custom paths click Add an entry, paste in [assembly:/_pro/characters/assets/individuals/colorado/ezraberg/geometry/male_reg_ezraberg.wl2?/shirt_s3.weightedprim](bodypart).pc_weightedprim and click Continue to save it.