LOD Setup
The following is a short guide on how to setup LOD Levels in your Blender scene.
This guide does not go into creating the LOD meshes, you can do that either manually or with Blender's decimate modifier (Or any other way you can think of).
PRIM Properties Panel
This is the PRIM Properties Panel where you can assign the LOD Levels for individual meshes. Depending on the complexity and size of your model it may be best to assign the highest geometry mesh with LOD Levels 0 and 1 otherwise you might noticeable pop-in. You'll have to experiment though to get the best results for your model.
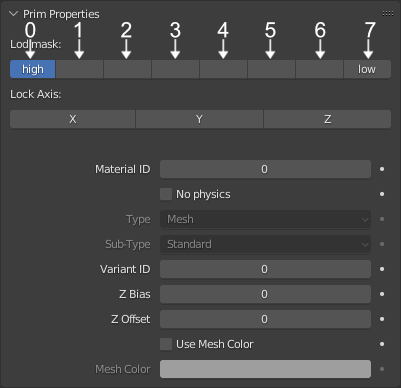
Assigning LOD Levels
- First you will need to select your mesh in Blender's scene outline.
- Open the "Object Properties" tab.
- Scroll down until you see "Prim Properties".
- Assign the LOD Levels that you wish the selected mesh to show up by clicking on the buttons under "LOD mask:".

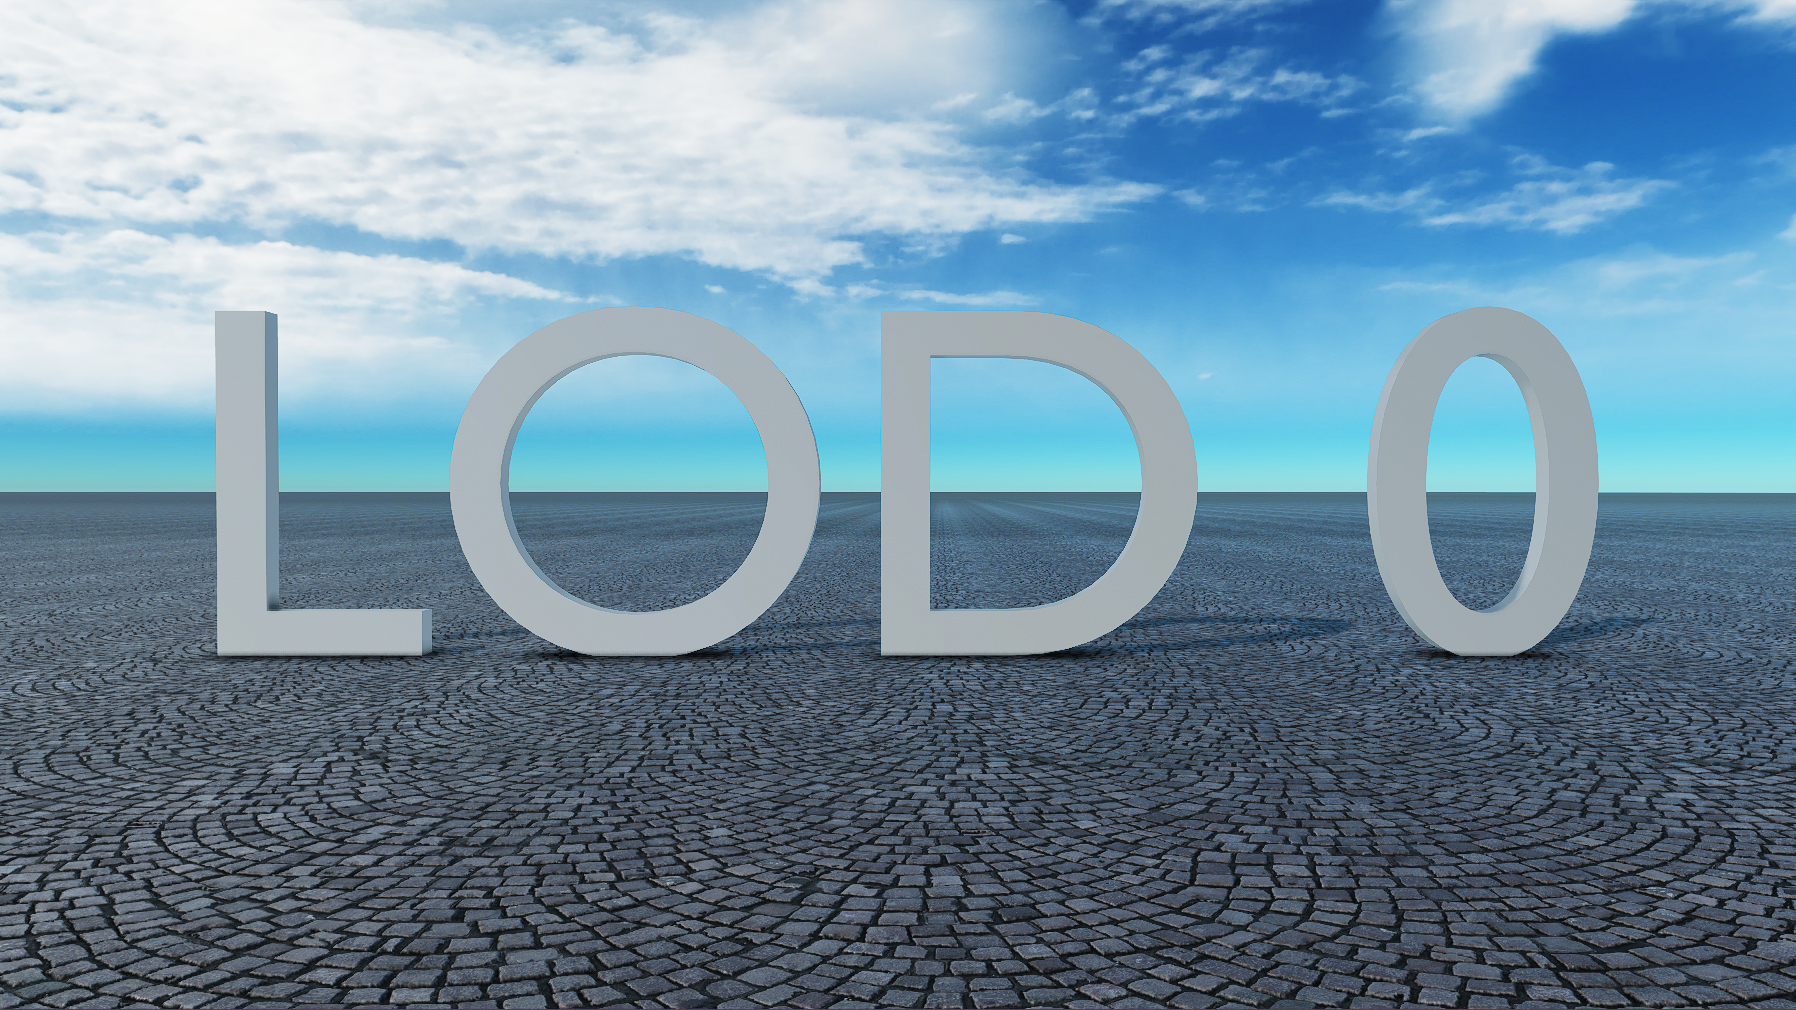
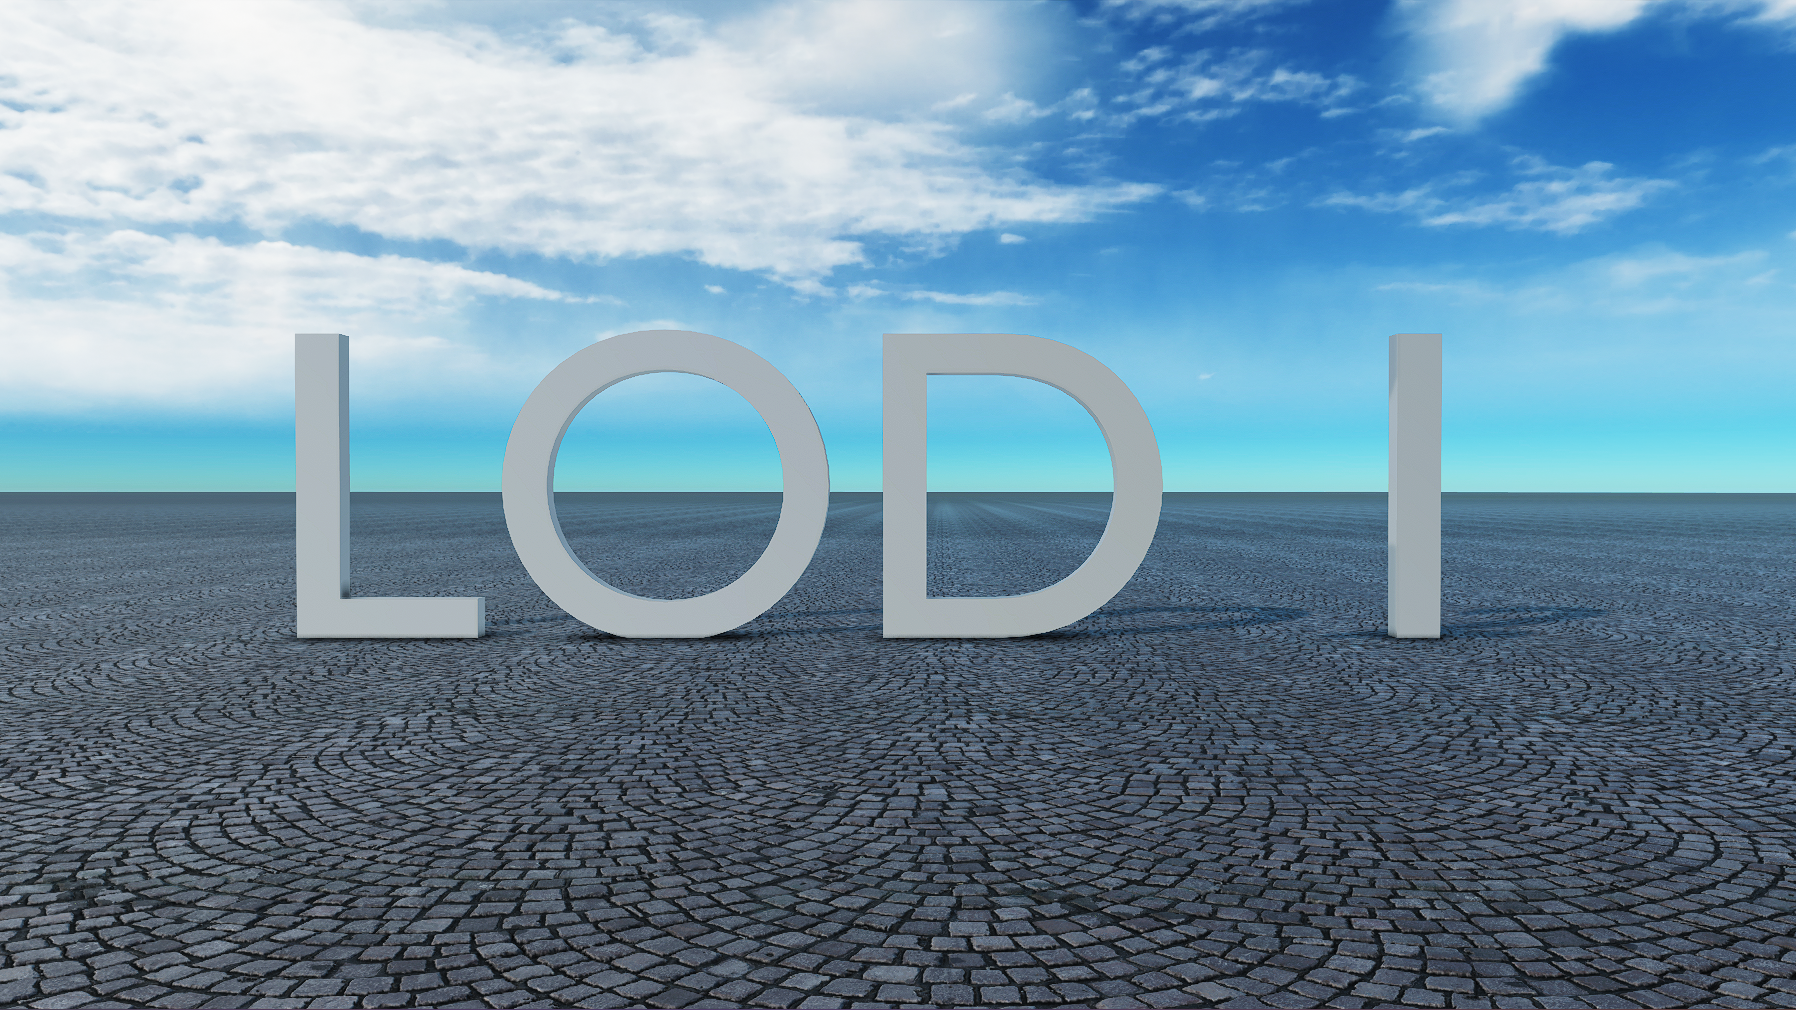
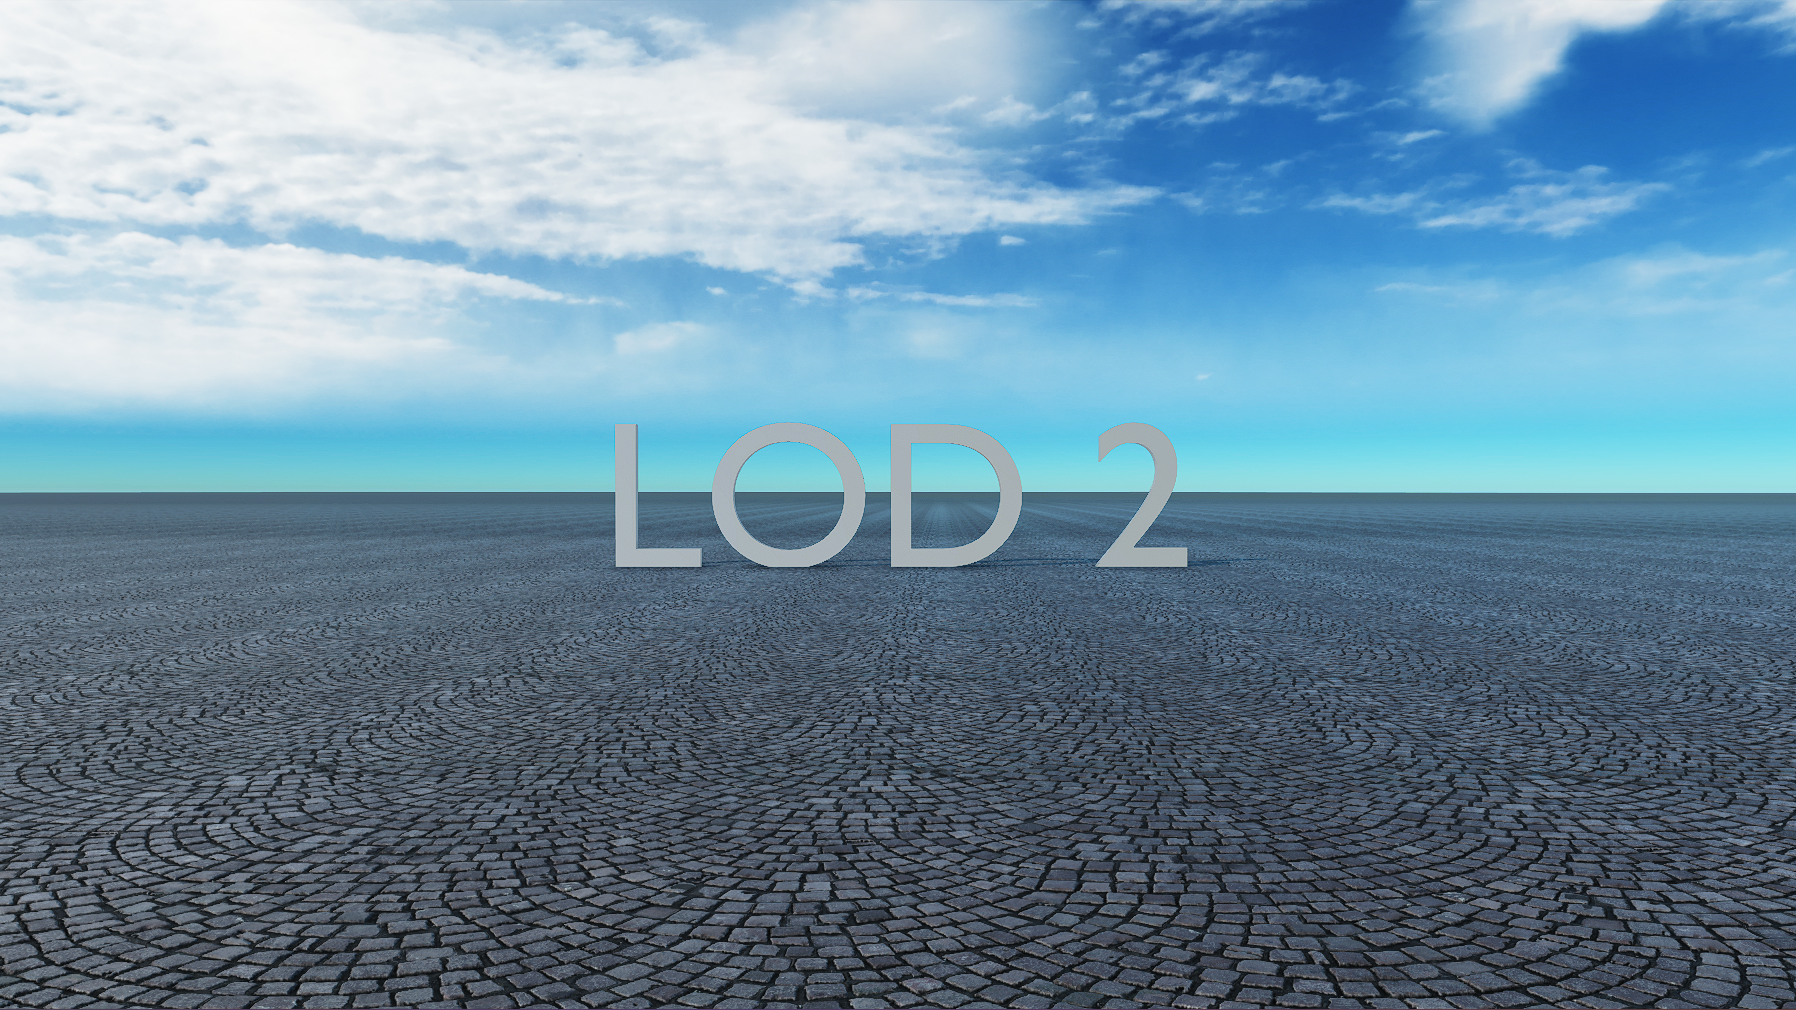
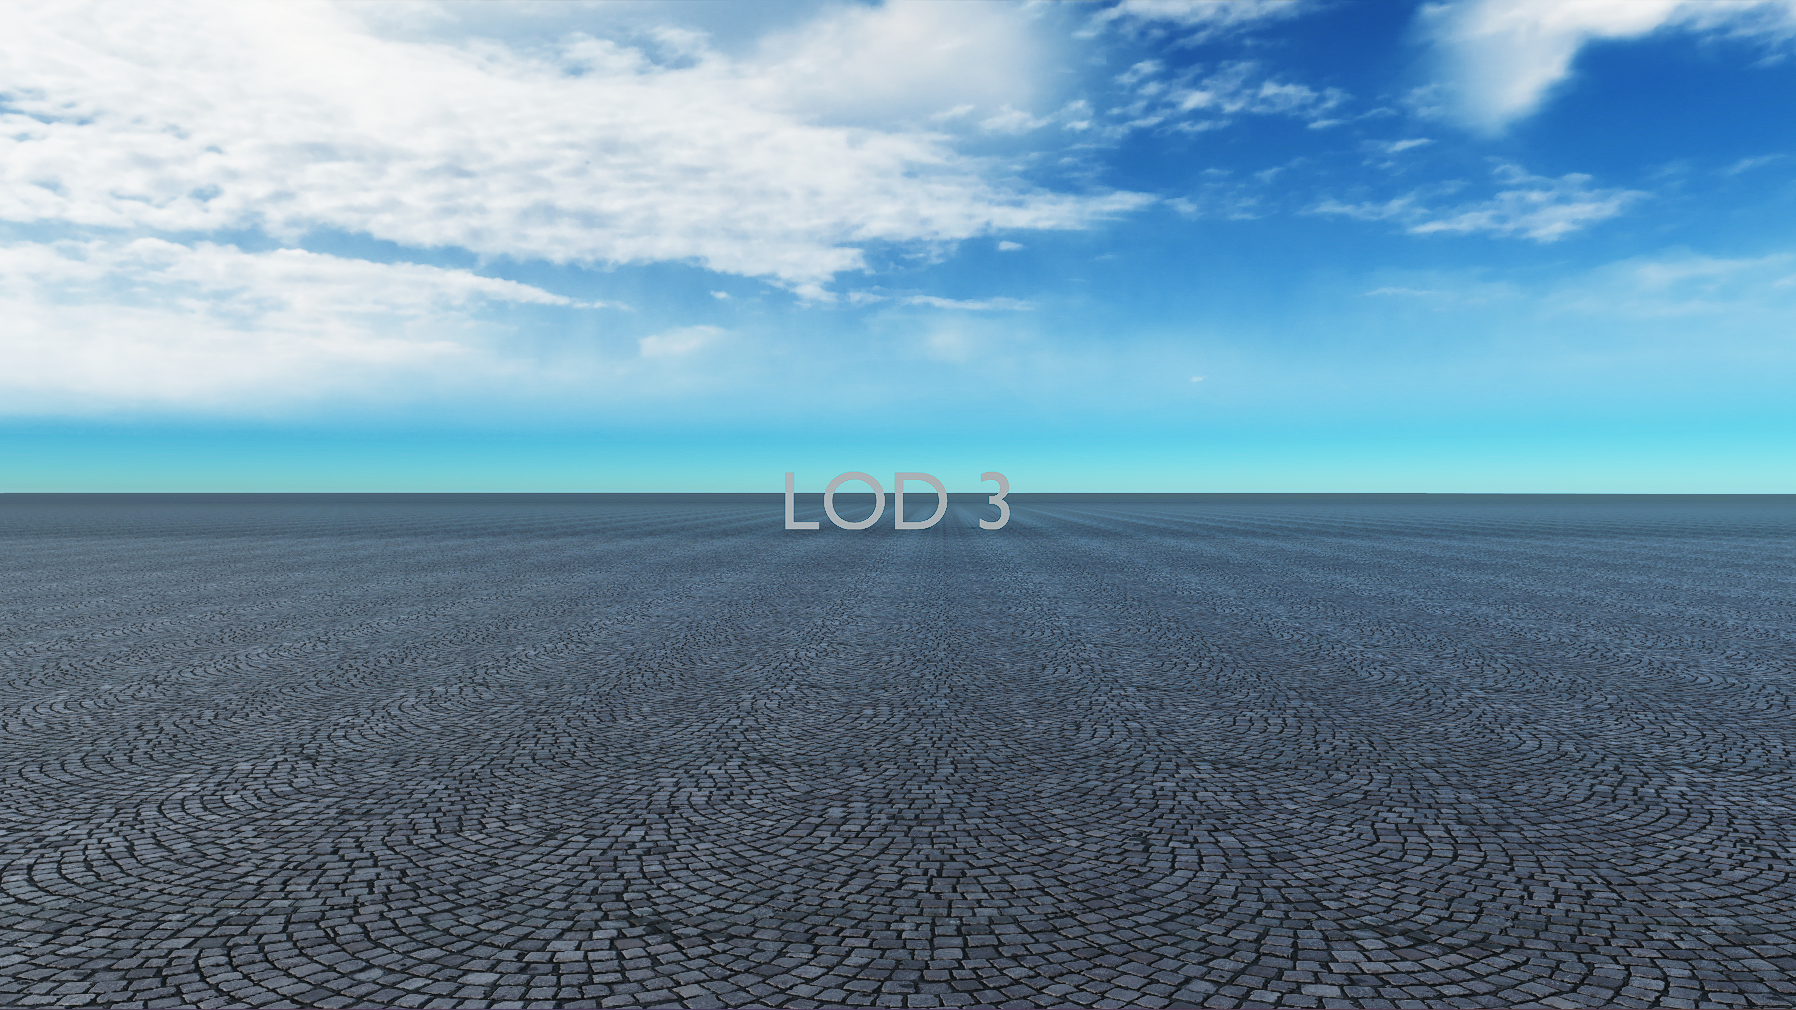
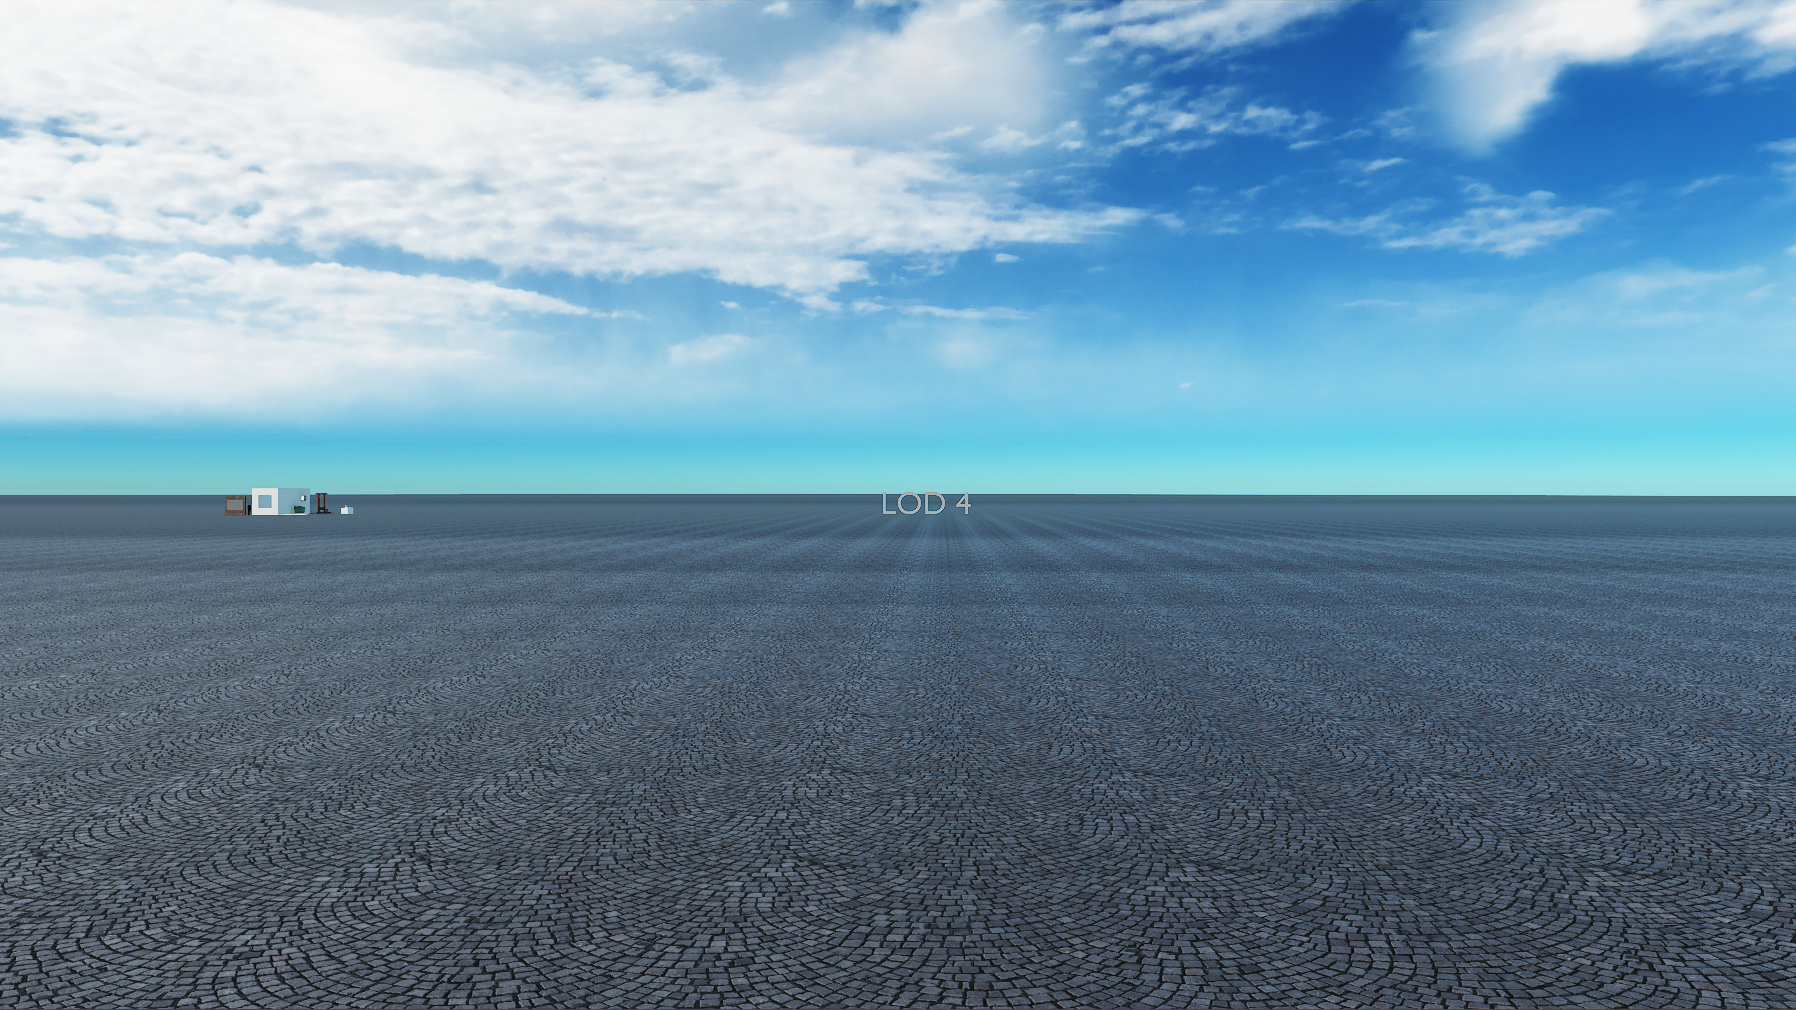
Example of LOD Levels in-game
The distance between each LOD Level depends on your "Level of detail" setting in-game and seems to change depending on the overall size of your model.
LOD 0:
 LOD 1:
 LOD 2:
 LOD 3:
 LOD 4:
 LOD 5:
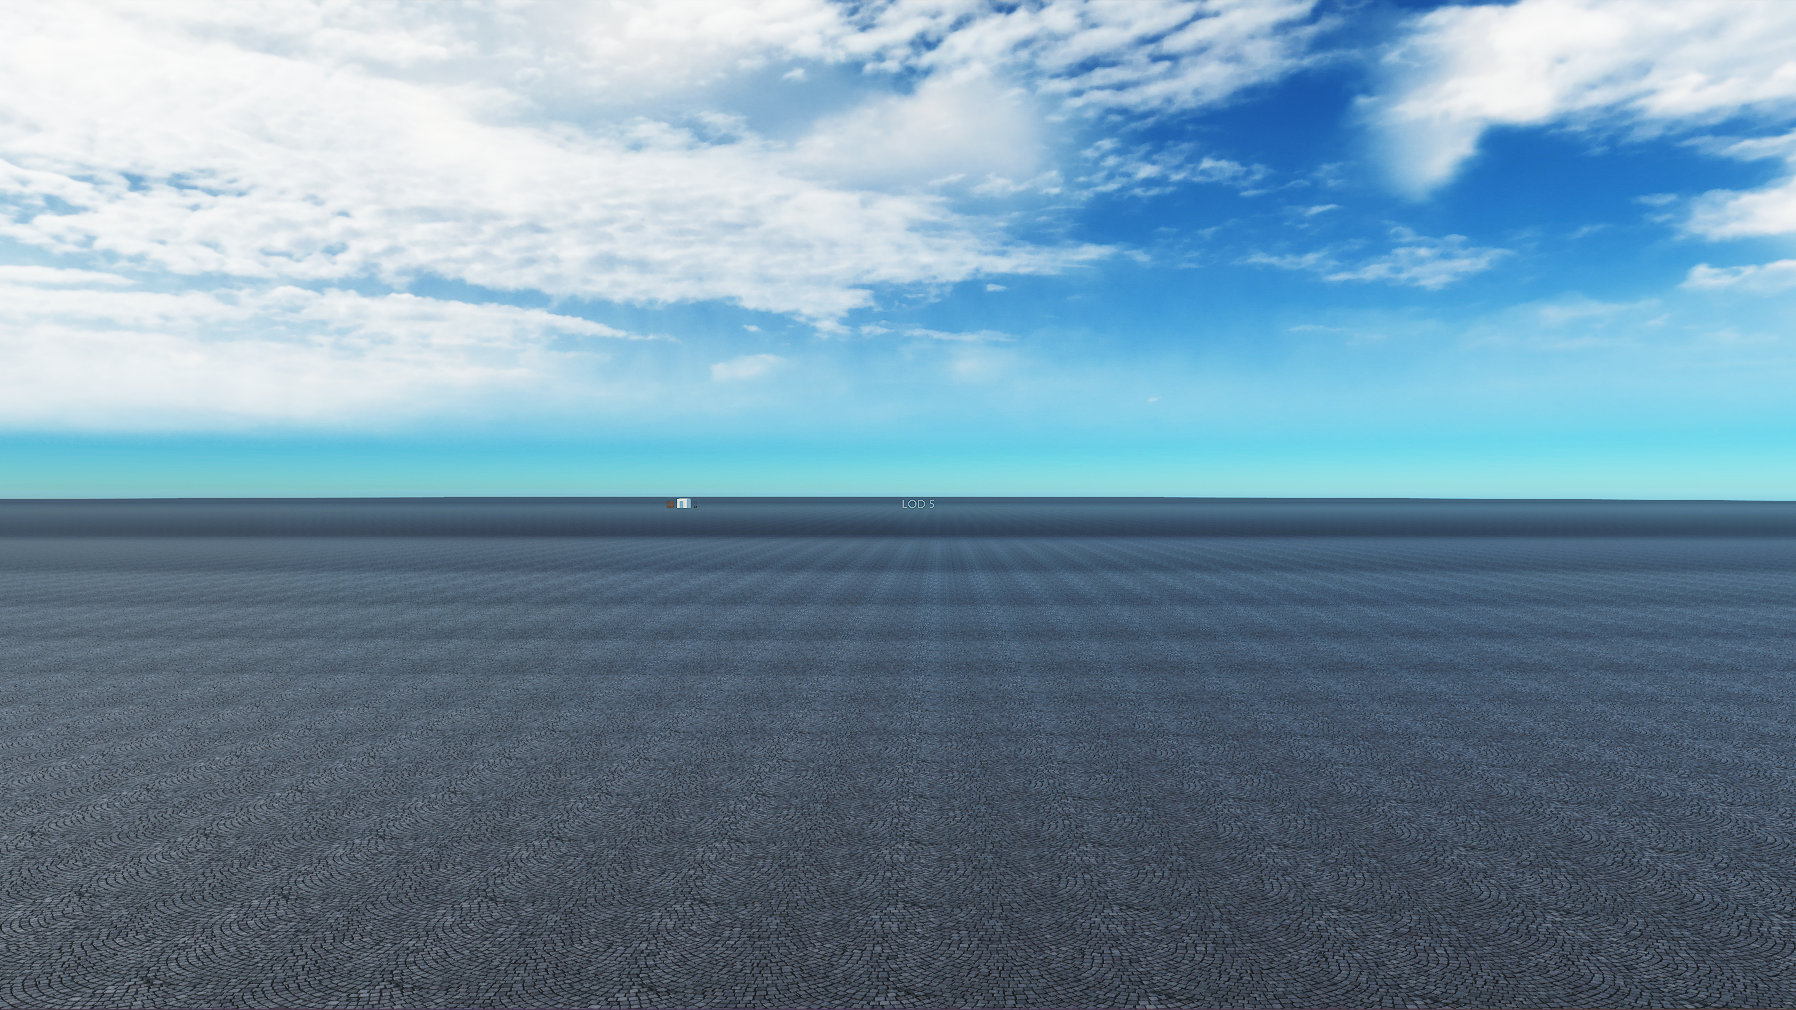 LOD 6 and 7 are too far away to see this specific model.